2023 Ford Shelby F-250 Super Baja 75th Anniversary Edition [Legacy / Enhanced] 1.1

")

![WIP 2016 Toyota Tundra TRD 4x4 [Replace]](https://img.gta5-mods.com/q75-w500-h333-cfill/images/wip-2016-toyota-tundra/028b96-194367745_4330853960298539_2081997582731001941_n.png "WIP 2016 Toyota Tundra TRD 4x4 [Replace]")
![2022 Infiniti Q60S [Addon | Debadged | Unlocked]](https://img.gta5-mods.com/q75-w500-h333-cfill/images/2022-infiniti-q60s-addon-fivem-unlocked/cabd12-1.png "2022 Infiniti Q60S [Addon | Debadged | Unlocked]")
![Batwing from the Flash [ADD-ON]](https://img.gta5-mods.com/q75-w500-h333-cfill/images/batwing-from-the-flash-add-on/55af85-1.png "Batwing from the Flash [ADD-ON]")
![Honda Civic Vtec 2005 [Add-on/OIV ]](https://img.gta5-mods.com/q75-w500-h333-cfill/images/honda-civic-vtec-2005-add-on-oiv/17e745-1.jpg "Honda Civic Vtec 2005 [Add-on/OIV ]")


2.375
33
2.375
33
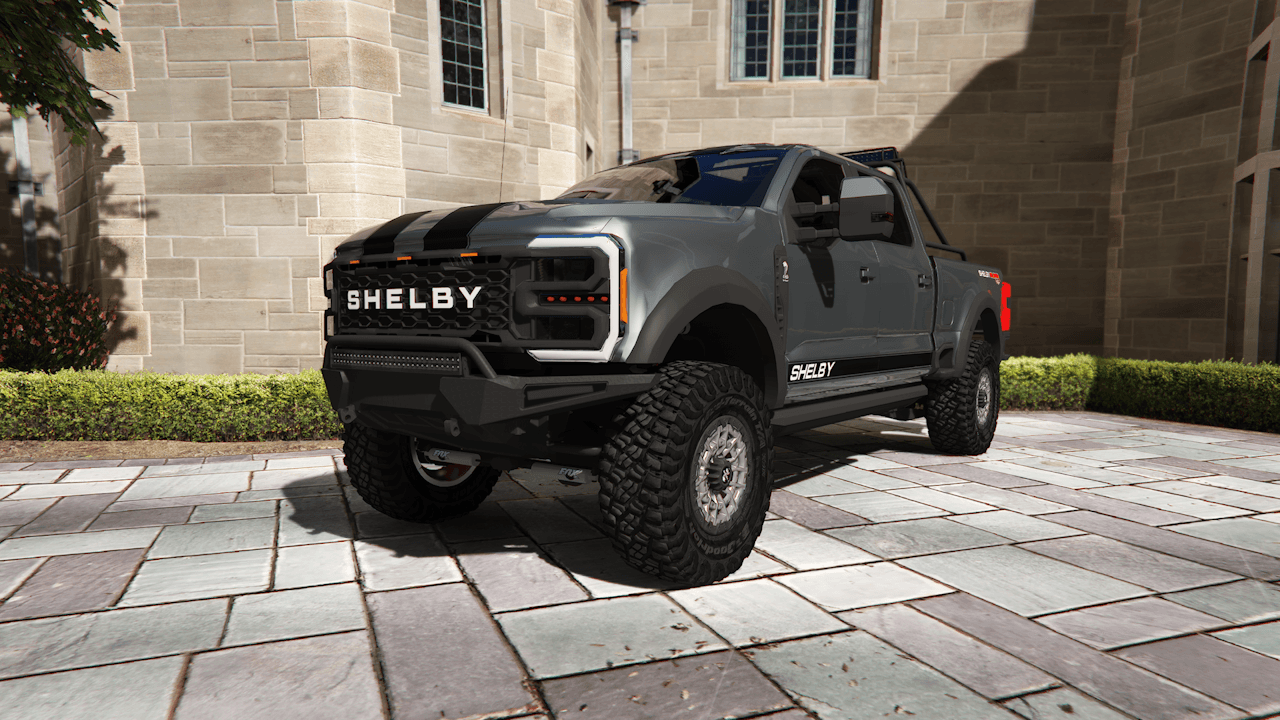
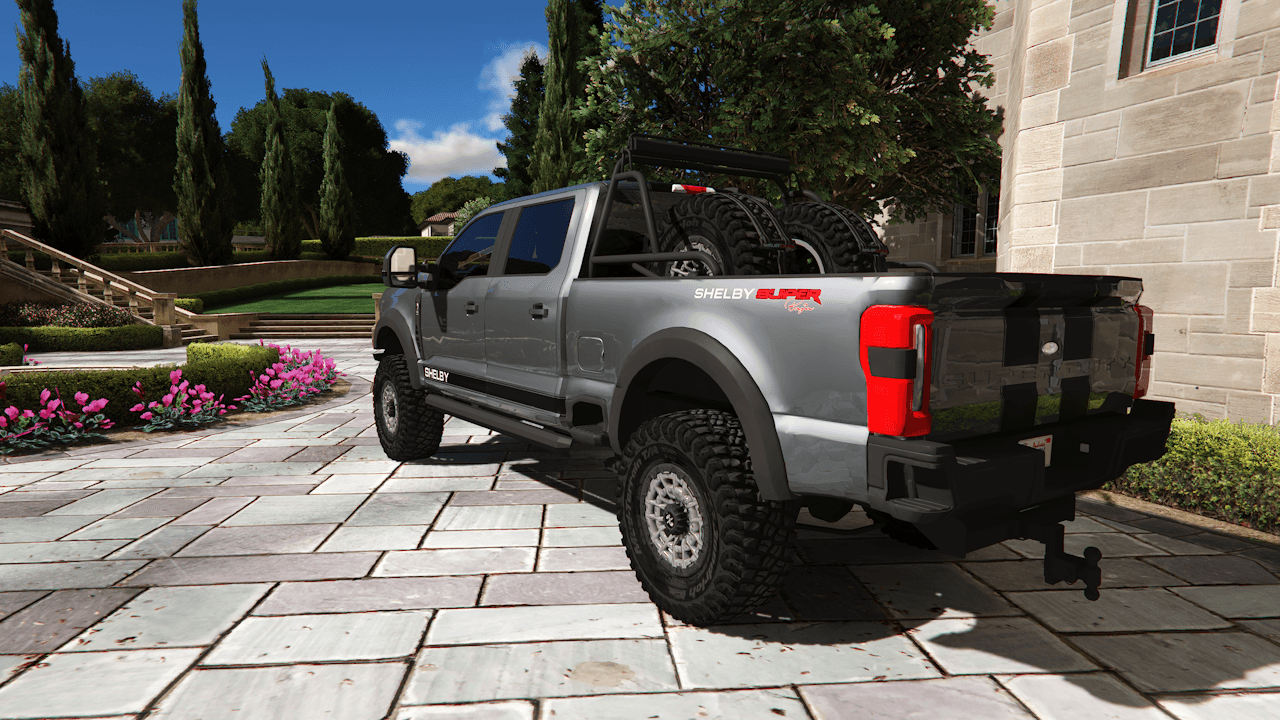
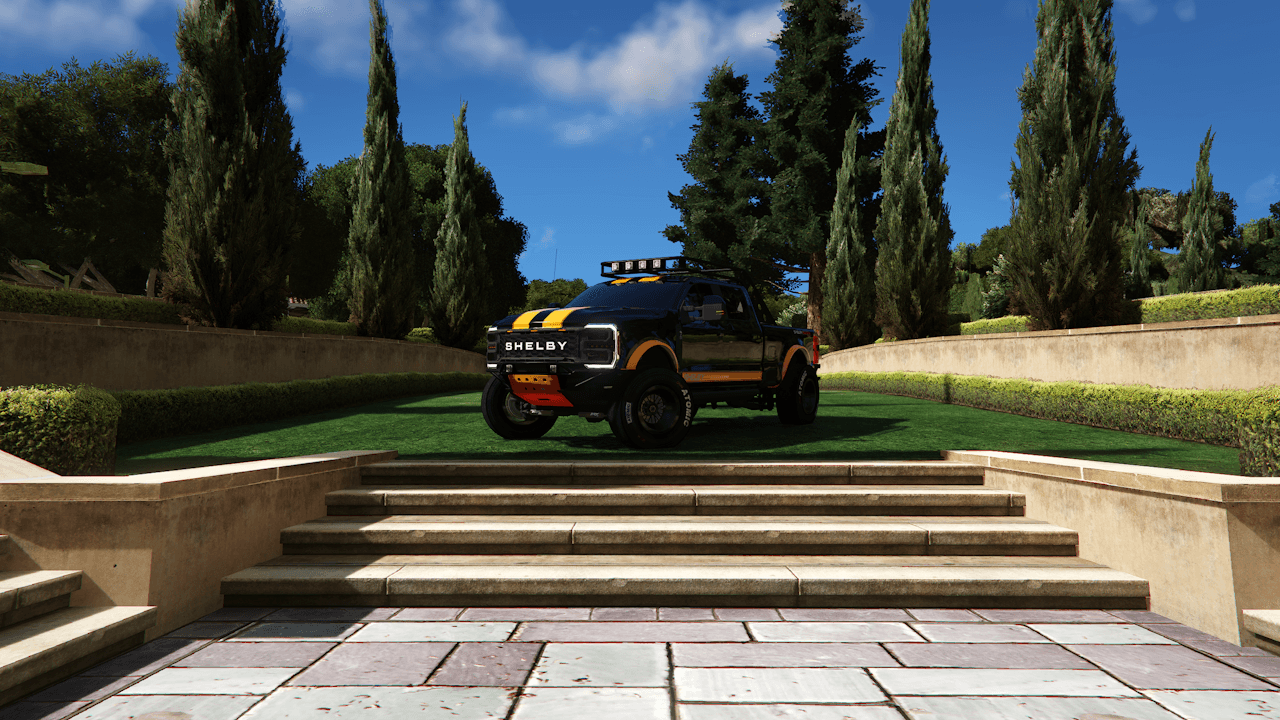
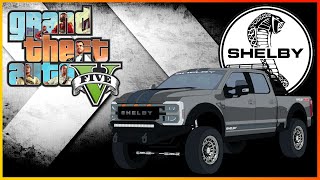
2023 Ford Shelby F-250 Super Baja 75th Anniversary Edition [Legacy / Enhanced]
Modeled By: TabbedScamper
Edit & Converted to GTA5 by: TabbedScamper
Screenshots by: TabbedScamper
--------------------------------------------------------------
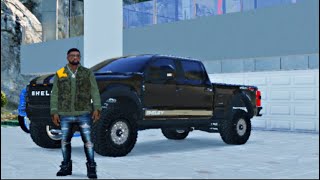
Vehicle features:
- HQ body and engine
- Some custom pieces
- Primary and Secondary Paint
- Breakable Glass
- Working Display
- Hands on Steering Wheel
- Color1 Body
- Color2 Stripes
Changelog:
1.0
- Release
1.1
- Renamed "Replace" to "Legacy" in file structure
- Fixed taillights on legacy
- Fixed rear bumper custom parts alignment
- Fixed custom hood alignment
- Removed random hoods and plan to create custom hoods at a later date
Known Issues:
- Some of the lights dont work on enhanced
- See through textures
- Windows need break fix
- Dirt needs to be mapped correctly
- Customize parts needs updated
Future Plans:
- Create an Add-on with customization options
- Add more options for color variety
- Get it FiveM ready
- Decals and Custom Template
- Better Bump Maps and Textures
[This install method assumes you already have a mods folder setup and have a basic understanding of how to mod the game]
--------------------------------------------------------------
### Installation: [Replace] ###
--------------------------------------------------------------
1: Open OpenIV
2: Select Tools -> Search
3: Search for "caracara2"
Usually located here = "X:\Grand Theft Auto V\mods\update\x64\dlcpacks\mpvinewood\dlc.rpf\x64\levels\gta5\vehicles\mpvinewood.rpf\caracara2_hi.yft"
4: Double-Click the "caracara2_hi.yft" search result to go to file location.
5: Enter "Edit Mode" (You should be in your mods folder)
6: Drag and drop the caracara2.ytd, caracara2+hi.ytd, caracara2.yft, and caracara2_hi.yft into the same directory.
7: Double-Click the "caracara2_hi.yft" to check if the model is correctly replaced.
8: Go back to search and find "caracara2_mods.rpf"
9: Double-Click the "caracara2_mods.rpf" search result to go to file location.
10: Open the "caracara2_mods.rpf"
11: Drag and drop the "mods" folder content into the rpf.
12: Launch the game and spawn it in using your mod menu (trainer) of choice.
spawn name = caracara2
--------------------------------------------------------------
### Installation: [Enhanced] ###
--------------------------------------------------------------
Do the same as legacy but be sure this is installed below and use the "enhanced" folder contents -
https://www.gta5-mods.com/tools/openrpf-openiv-asi-for-gta-v-enhanced
you may need to use codewalker (software) to explore the rpf's and replace them.
---------------------------------------------------------------------------------------------------------
Thank you for downloading this mod. While there are a few known issues we're actively working to address, we hope you still enjoy the experience. We have several exciting projects in development, so be sure to check back regularly on my page for future releases.
- TabbedScamper
Modeled By: TabbedScamper
Edit & Converted to GTA5 by: TabbedScamper
Screenshots by: TabbedScamper
--------------------------------------------------------------
Vehicle features:
- HQ body and engine
- Some custom pieces
- Primary and Secondary Paint
- Breakable Glass
- Working Display
- Hands on Steering Wheel
- Color1 Body
- Color2 Stripes
Changelog:
1.0
- Release
1.1
- Renamed "Replace" to "Legacy" in file structure
- Fixed taillights on legacy
- Fixed rear bumper custom parts alignment
- Fixed custom hood alignment
- Removed random hoods and plan to create custom hoods at a later date
Known Issues:
- Some of the lights dont work on enhanced
- See through textures
- Windows need break fix
- Dirt needs to be mapped correctly
- Customize parts needs updated
Future Plans:
- Create an Add-on with customization options
- Add more options for color variety
- Get it FiveM ready
- Decals and Custom Template
- Better Bump Maps and Textures
[This install method assumes you already have a mods folder setup and have a basic understanding of how to mod the game]
--------------------------------------------------------------
### Installation: [Replace] ###
--------------------------------------------------------------
1: Open OpenIV
2: Select Tools -> Search
3: Search for "caracara2"
Usually located here = "X:\Grand Theft Auto V\mods\update\x64\dlcpacks\mpvinewood\dlc.rpf\x64\levels\gta5\vehicles\mpvinewood.rpf\caracara2_hi.yft"
4: Double-Click the "caracara2_hi.yft" search result to go to file location.
5: Enter "Edit Mode" (You should be in your mods folder)
6: Drag and drop the caracara2.ytd, caracara2+hi.ytd, caracara2.yft, and caracara2_hi.yft into the same directory.
7: Double-Click the "caracara2_hi.yft" to check if the model is correctly replaced.
8: Go back to search and find "caracara2_mods.rpf"
9: Double-Click the "caracara2_mods.rpf" search result to go to file location.
10: Open the "caracara2_mods.rpf"
11: Drag and drop the "mods" folder content into the rpf.
12: Launch the game and spawn it in using your mod menu (trainer) of choice.
spawn name = caracara2
--------------------------------------------------------------
### Installation: [Enhanced] ###
--------------------------------------------------------------
Do the same as legacy but be sure this is installed below and use the "enhanced" folder contents -
https://www.gta5-mods.com/tools/openrpf-openiv-asi-for-gta-v-enhanced
you may need to use codewalker (software) to explore the rpf's and replace them.
---------------------------------------------------------------------------------------------------------
Thank you for downloading this mod. While there are a few known issues we're actively working to address, we hope you still enjoy the experience. We have several exciting projects in development, so be sure to check back regularly on my page for future releases.
- TabbedScamper
Tải lên lần đầu: 6 ngày trước
Cập nhật lần cuối: 6 ngày trước
Last Downloaded: 6 phút trước
14 Bình luận
2023 Ford Shelby F-250 Super Baja 75th Anniversary Edition [Legacy / Enhanced]
Modeled By: TabbedScamper
Edit & Converted to GTA5 by: TabbedScamper
Screenshots by: TabbedScamper
--------------------------------------------------------------
Vehicle features:
- HQ body and engine
- Some custom pieces
- Primary and Secondary Paint
- Breakable Glass
- Working Display
- Hands on Steering Wheel
- Color1 Body
- Color2 Stripes
Changelog:
1.0
- Release
1.1
- Renamed "Replace" to "Legacy" in file structure
- Fixed taillights on legacy
- Fixed rear bumper custom parts alignment
- Fixed custom hood alignment
- Removed random hoods and plan to create custom hoods at a later date
Known Issues:
- Some of the lights dont work on enhanced
- See through textures
- Windows need break fix
- Dirt needs to be mapped correctly
- Customize parts needs updated
Future Plans:
- Create an Add-on with customization options
- Add more options for color variety
- Get it FiveM ready
- Decals and Custom Template
- Better Bump Maps and Textures
[This install method assumes you already have a mods folder setup and have a basic understanding of how to mod the game]
--------------------------------------------------------------
### Installation: [Replace] ###
--------------------------------------------------------------
1: Open OpenIV
2: Select Tools -> Search
3: Search for "caracara2"
Usually located here = "X:\Grand Theft Auto V\mods\update\x64\dlcpacks\mpvinewood\dlc.rpf\x64\levels\gta5\vehicles\mpvinewood.rpf\caracara2_hi.yft"
4: Double-Click the "caracara2_hi.yft" search result to go to file location.
5: Enter "Edit Mode" (You should be in your mods folder)
6: Drag and drop the caracara2.ytd, caracara2+hi.ytd, caracara2.yft, and caracara2_hi.yft into the same directory.
7: Double-Click the "caracara2_hi.yft" to check if the model is correctly replaced.
8: Go back to search and find "caracara2_mods.rpf"
9: Double-Click the "caracara2_mods.rpf" search result to go to file location.
10: Open the "caracara2_mods.rpf"
11: Drag and drop the "mods" folder content into the rpf.
12: Launch the game and spawn it in using your mod menu (trainer) of choice.
spawn name = caracara2
--------------------------------------------------------------
### Installation: [Enhanced] ###
--------------------------------------------------------------
Do the same as legacy but be sure this is installed below and use the "enhanced" folder contents -
https://www.gta5-mods.com/tools/openrpf-openiv-asi-for-gta-v-enhanced
you may need to use codewalker (software) to explore the rpf's and replace them.
---------------------------------------------------------------------------------------------------------
Thank you for downloading this mod. While there are a few known issues we're actively working to address, we hope you still enjoy the experience. We have several exciting projects in development, so be sure to check back regularly on my page for future releases.
- TabbedScamper
Tải lên lần đầu: 6 ngày trước
Cập nhật lần cuối: 6 ngày trước
Last Downloaded: 6 phút trước
 5mods on Discord
Version 1.1 is uploaded! All the suggestions have been a great help! This model wasn't pulled from anywhere and has been a long 3 month journey from scratch to in game but with that being said there is many improvements that are needed. I have fixed the custom parts alignment issues but plan to replace most with actual custom parts from the real world instances instead of just the caracara. I also plan to fix some of my model topology to have better reflections as mentioned by @IUaena. Keep me posted on what you guys would like to see and i will try my best to get to it.
This file has been approved automatically. If you think this file should not be here for any reason please report it.
Let me know if you guys have any issues with the mod and i will address it ASAP
Rear bumper options aren't attached to the truck. They float about 10ft behind. Hood options might need a little work also with size idk. Awesome truck though! I love it. Oh and you might want to rename "Replace" to "Legacy" in the download file. I installed Replace first lol
The reflection on exterior is a mess, especially bonnet. And this car has no taillight. A cool mod but need a lot of work.
perfection, works like a charm on vanilla enhanced and NVE
known bugs:
vehicle mods
rear bumps position
hoods position
other than that, everything is perfect
thank you so much for your work of art, its simply beautiful
@writtninblood all great suggestions! I fixed the custom rear bumper alignments, fixed the custom hood alignment, and renamed "replace" to "legacy as suggested. I plan on creating custom hoods at a later date but for now i just replaced all the hoods with the one custom I made. (mod is up for approval as of)
@IUaena I do wish the reflections were a bit better but due to this model being 100% custom I'm still learning. The topology isn't the greatest and i do plan to clean it up for better reflections. I was able to fix the taillight on legacy but enhanced is another beast entirely. I'll keep working on it and hope to fix this issues in a future update.
@talbheim hey buddy! I just uploaded an update to address these issues. I'm still hard at work on a few things but as a first draft I'm pretty happy with it.
@TabbedScamper hi budy, thank you so much for the update, everything is working great now
congratulations for your fantastic work, you rocks
@TabbedScamper are you thinking on making this as an Addon?
@TabbedScamper Hello! In the following link you can download and add-on version (Legacy) with working vehicle mods and just to note that there is room to add liveries (currently there are 10 spaces that are blank and room to add more vehiclemods that are not actually in the gamefiles yo provide).
https://www.mediafire.com/file/8bca6uv3teifwmr/2023-F250-Super-Baja.zip/file
@rodolfo_luna94 Did you just use a add-on generator or did you build it? I haven't quite learned how to properly do add-ons and I'm just curious as to the method you used.
@TabbedScamper I did it myself, I have never used an add-on generator